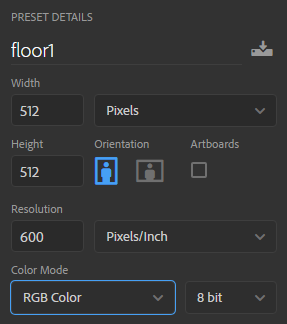
 In Photoshop set up a new document for your textures.
A common size for gaming is 512 x 512 Pixels square. Higher quality textures might be 1024 x 1024 px or 2048 x 2048 px.
Usually square, may be a rectangle, but always set the pixel dimensions of each side as a power of 2 (or suffer slow down in the game): 2, 4, 8, 16 (Unreal Game Engine minimum), 32, 64, 128, 256, 512, 1024, 2048 (max for mobile and HTML5), 4096, 8192 (max for Unreal + Unity, may be very slow on older PCs and devices).
I prefer working at a resolution of 72 ppi, the usual ‘Web’ standard.
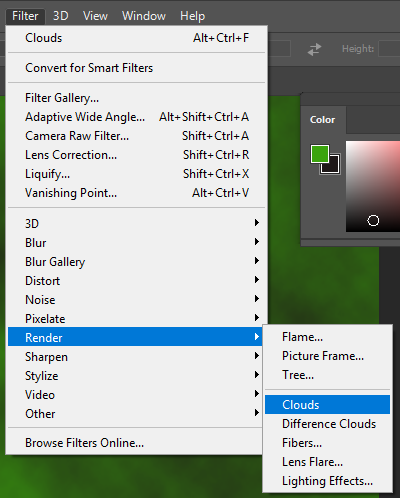 You can generate textures from scratch by setting your foreground and background colours and then using Filter>Render>Clouds to create a parchment effect.
To make this look more like wood, try Filter>Render>Fibers and experiment with the settings.
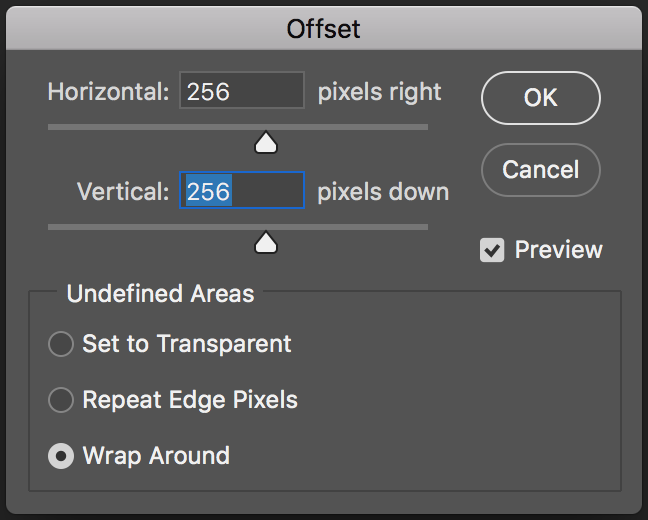 Use Filter>Other>Offset…
to retouch the edges to create a texture that will tile.
PBR Textures
Guide to PBR textures in Unity Guide to PBR textures from Substance
Bump Maps and Normal Maps

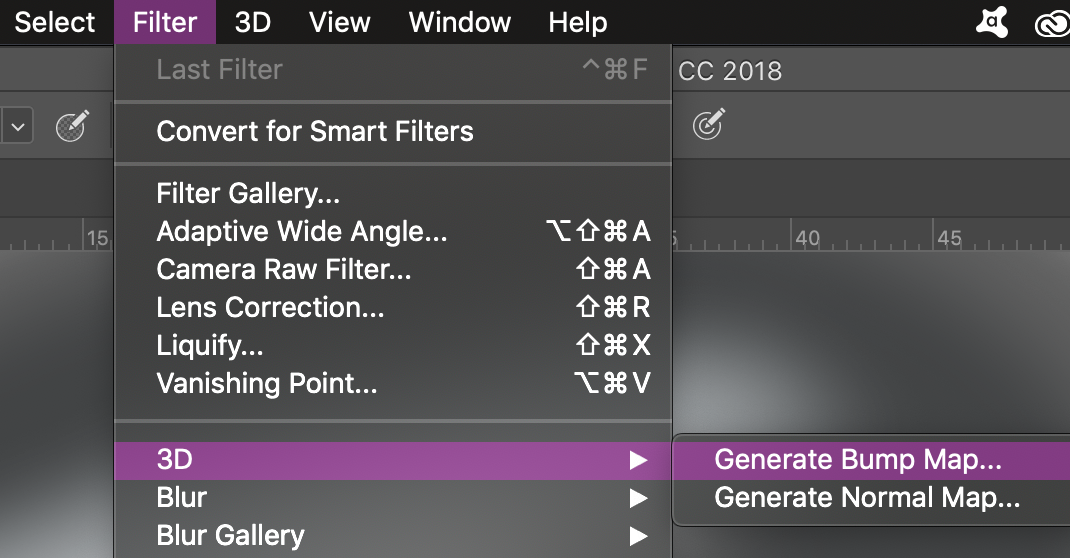
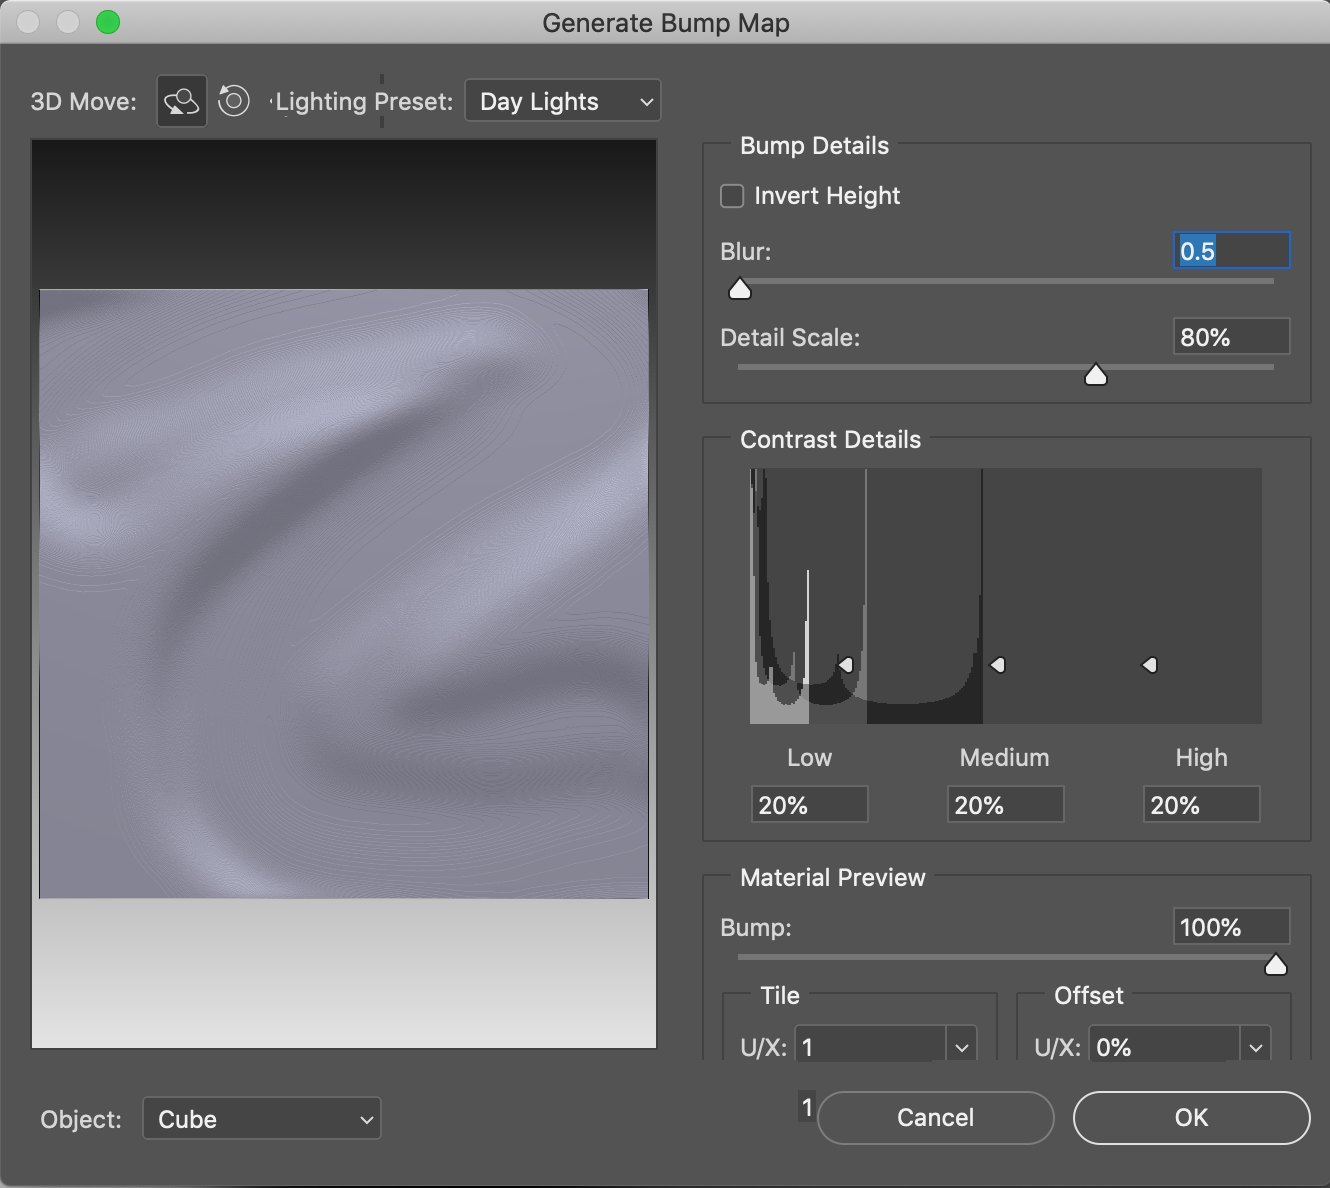
 These can be created in Adobe Photoshop from Filter > 3D > Generate Bump Map or Filter > 3D > Generate Normal Map. They are used to give the impression of depth on a low-polygon models surface without having to create detailed geometry which would push up the polygon count and so slow down rendering in the game. More.
Normal map examples from YouTube explanation by CG Cookie.
Applying Normal Maps
Substance Painter
Free to students and teachers, this industry-standard software makes texturing much more straightforward. Plug-ins available for 3ds Max, Maya, Unity etc. and available for Mac, Windows, and Linux. Also Substance Designer. Guide to PBR textures
Links to floor texture and rocks texture for demonstrations